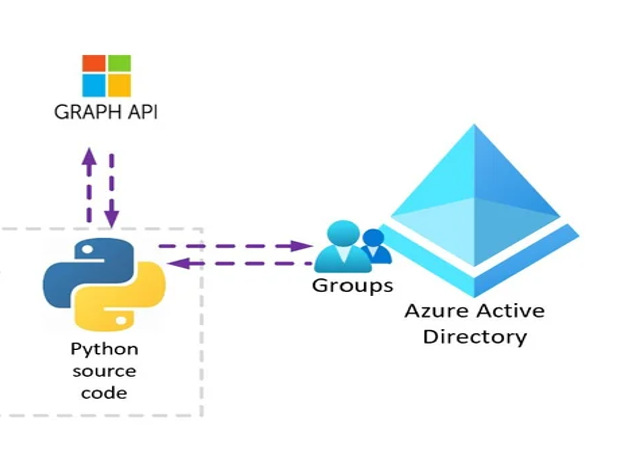
Creating a web application that can manage Active Directory or Azure accounts can greatly streamline your IT processes. This guide will help you build a web app utilizing the Microsoft Graph API, a powerful tool that integrates with Microsoft 365 services. Here’s a step-by-step approach:
Prerequisites
Basic knowledge of RESTful APIs and OAuth 2.0.
Familiarity with programming languages like C# or JavaScript.
Access to Microsoft Azure for registering an application.
Microsoft 365 or Azure Active Directory (AD) for testing.
Step 1: Register Your Application with Microsoft Identity Platform
Log in to Azure Portal: Visit Azure Portal and sign in with your Microsoft account.
Register a New Application:
Navigate to Azure Active Directory > App registrations > New registration.
Fill in the required details such as the app name and redirect URI (for web apps, a URI is typically needed for the OAuth flow).
Get Application (client) ID and Directory (tenant) ID: Save these IDs from the overview page; you’ll need them later.
Create a Client Secret:
Go to Certificates & Secrets > New client secret.
Add a description and set an expiry period.
Note down the secret value.
Set Permissions:
Navigate to API permissions > Add a permission.
Choose Microsoft Graph > Delegated permissions.
Search and add the required permissions (e.g., User.ReadWrite.All for creating and managing users).
Step 2: Implement OAuth 2.0 Authorization Code Grant Flow
To securely authenticate, your app needs an access token from the Microsoft Identity platform.
Redirect User for Authentication:
Direct the user to the Microsoft login page with your app’s details (client ID, redirect URI).
Retrieve Authorization Code: Once the user authenticates and consents, your redirect URI will receive an authorization code.
Exchange Code for an Access Token:
Make a POST request to Microsoft’s OAuth2 token endpoint, including your client ID, secret, and the authorization code.
On success, you’ll receive an access token.
Step 3: Call Microsoft Graph API to Create Accounts
Set Up Microsoft Graph Client: Reference the Microsoft Graph SDK in your project for easier interaction with the API.
Acquire an Access Token: Using the sample code provided, request an access token with the appropriate scope.
Create the User Account:
// Sample C# Code
string accessToken = await GetAccessToken(); // Implement this method to obtain an access token
var user = new User
{
DisplayName = “John Doe”,
UserName = “johndoe”,
Password = “Password123!”
};
await MicrosoftGraphClient.Users.Request().AddAsync(user);
Replace GetAccessToken() with your method to obtain an OAuth token.
Customize the User object properties according to your needs.
Step 4: Test and Deploy
Test Your App Locally: Ensure your application correctly authenticates and interacts with Microsoft Graph API.
Handle Errors Gracefully: Implement error handling to manage API failures or denied access.
Deploy Your App: Once tested, deploy your app to a hosting platform or Azure App Service.
Continuous Monitoring: Regularly monitor and update the application to handle any changes in the API or authentication methods.
Conclusion
Building a web app to manage Active Directory or Azure accounts via the Microsoft Graph API can significantly automate and improve user account management. By following these steps, you’re on your way to creating a powerful, secure, and efficient application tailored to your organizational needs. Don’t forget to keep security, logging, and compliance in mind while developing and deploying your application.